Cleaning outside windows is not as simple as it sounds. And believe it or not, many get it wrong.
Unlike the interior of your house, outside windows are exposed to harsh weather, dust, and dirt, basically catching all the nasty stuff so you won’t. And unlike the interior of your house, they don’t get cleaned often, so dirt and stains accumulate on the glass, the window sills, and all the cracks and crevices, making it difficult to remove their traces. A quick wiping just won’t cut it (and honestly, they deserve more than that).
But before you start climbing on or hanging out of one of your windows, it’s important to know what you’re getting yourself into. You can’t freeze mid-air (or at least mid-ladder), realizing you have no idea what you’re doing. Knowing what cleaning the exterior of your windows entails will help you prepare, save money, time, and effort, and make the right decisions.
This post will discuss the things you need to consider before starting your window washing, the things you need to get the job done, the right way to do it, and your options if you don’t want to do it yourself after all.
How to Clean Outside Windows the Right Way
Outside windows are often overlooked, but cleaning them should be a part of your home cleaning checklist, too.
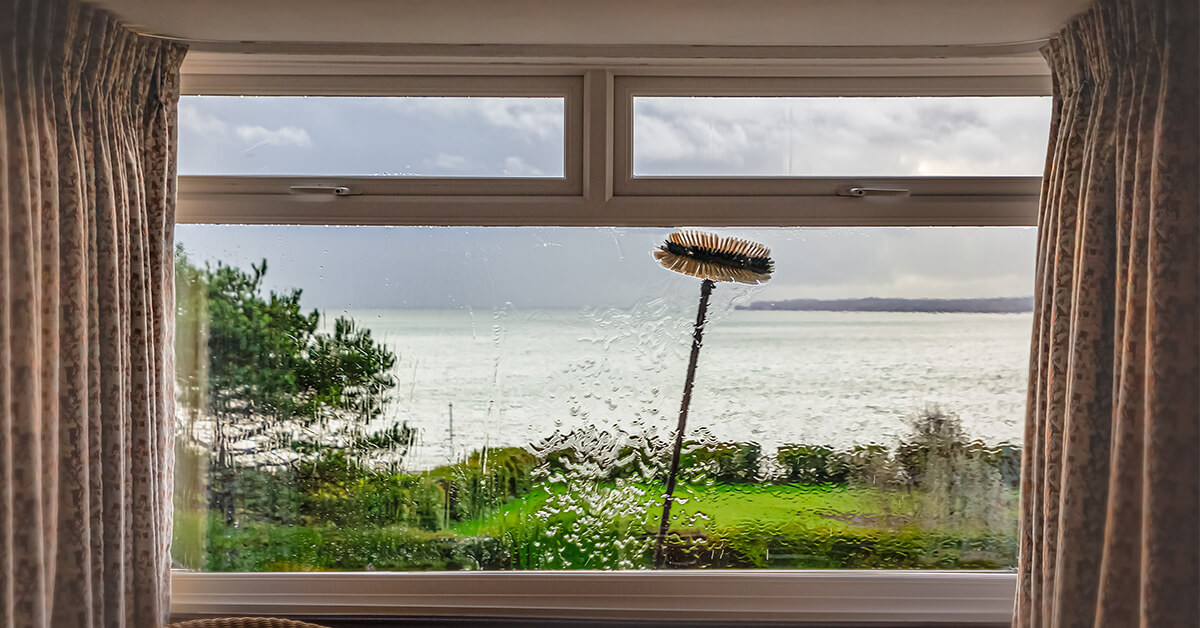
Apart from the fact that water spots, dead bugs, and a thick film of dust and dirt are not a sight to behold, dirty windows can cast a gloomy shadow over your home, which can sometimes affect your and your family’s mood and energy. Regular cleaning will allow you to maximize natural light in your house and give you the pleasure of looking out sparkly clean windows and seeing the bright morning sunshine.
Of course, there's a process to cleaning windows. And if you do it wrong, you might end up doing more damage than anything else, really.
Yes, you want your windows to be clean, but you also want to make sure that you’d still have windows after. The risk of damaging your windows and your home, and causing serious injury (or even death) to yourself and others is high if you don’t have the knowledge or proper training.
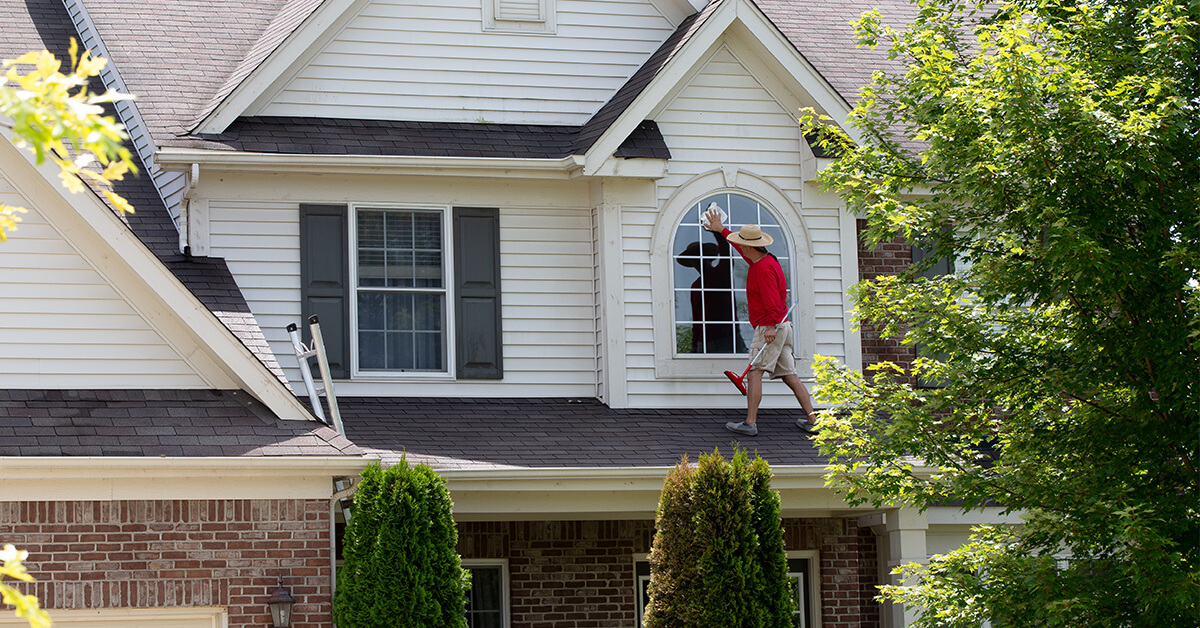
You need to consider the height of your windows, the cleaning tools and equipment you have, and the weather, among other things. This is why sometimes, hiring a professional is the better route. They’re trained, they have the right equipment, and it might actually even be cheaper, especially if you don’t have tools, products, and equipment on hand. Plus, risking your life for squeaky clean windows might just be too much, don’t you think?
Take it from the experts: cleaning outside windows can be a nightmare, even for serial DIY-ers and the most experienced spring cleaners. Let Excel Residential Services give you a walkthrough一 request a free quote today.

1. Start Smart
As with everything else in life, planning ahead is always a good idea. Figure everything out before you launch yourself 15 feet above the ground. Are the skies clear? Do you have everything you need? Are you in physically good condition to finish the job? Do you know exactly what to do? Making sure you’ve considered all these things can keep you from accidents and unfortunate incidents.
You don’t want to be up on a ladder when it’s raining cats and dogs outside or when the heat is enough to give you a stroke (and dry cleaning products at record speed that leaves water stains on the glass surface).
Make sure you also have the tools and products that you need beforehand and keep them at arm’s reach when you begin the work, instead of having to run to the hardware store in the middle of the job. That way, you don’t waste time and effort, and you can finish the task faster.
Next, ask yourself: can I really do it? You may be up for it, but do your knees or back feel the same way? Cleaning outside windows is hard labor, and you might end up with more than just pulled muscles, so make sure you won’t end up hurting yourself.
And most importantly, you gotta make sure you know exactly what to do. Doing it the wrong way could cause damage to your windows, or even to other parts of your home. If you’re unsure, it’s best to get help from the pros.
2. Clear out the area
Remove things that might be blocking your target areas. You want to planter boxes, vehicles, and other things that might get broken or damaged if you accidentally drop heavy equipment or spill cleaning products.
Clearing things away from the windows you're cleaning also gives you easy access and more space so you can move freely, without any obstruction.
3. Prepare your supplies
Depending on the location of your windows, the list of required supplies can be extensive. You'll need:
- A ladder (preferable one with a stabilizer)
- sponges and scrubbers
- a squeegee
- vacuum cleaner and broom with long handles
- a strip washer and extension pole
- microfiber cloths
- water and cleaning products
But before you even start scrubbing and wiping, we recommend power washing your windows first. This will remove the dust buildup, stubborn stains, and tough dirt that good ‘ol scrubbing won’t be able to get rid of. So if you have a power washer, you’ve won half the battle.
As for cleaning products, eco-friendly solutions are your best bet, especially if you have plants that can’t be moved elsewhere, or if you have pets or kids at home.
4. Get down (or up) and dirty
As mentioned earlier, power washing is the best way to start. It gets rid of most of the dirt, with less muscle power. But if you don’t have one on hand, you can use a vacuum cleaner to clean the area around the windows, remove dust and debris, and clear as much dust as possible from the sides and all the small crevices.
Next, fill your bucket with warm water and your cleaning solution. Place your scrubber or strip washer in the bucket and let it soak for 1-2 minutes, then scrub the entire window with your solution. Make sure you cover every nook and cranny, moving your scrubber or strip washer from the bottom corner of the window upward.
Once you’ve scrubbed the whole window, use a squeegee to remove the suds and get rid of the remaining dirt. This time you start in the top corner of the window, bringing it down to the bottom with even strokes. Don’t forget to clean the squeegee with a microfiber cloth in between strokes. Continue doing this until there are no longer any traces of water.
Next, you’d want to remove the excess water from the frames. Use a clean and dry cloth to wipe them and leave them to dry.
Should you clean outside windows yourself?
It’s really up to you. If you’ve considered all of the things we’ve mentioned above, and you’re still down for it, and you’re certain you can get it done, then go for it. But if you don’t have a lot of time to spare or if you’re operating on a budget and you don’t already have the tools and products that you need, then hiring a professional might be a better and actually the cheaper option.
Getting a professional cleaning company to clean outside windows will get the job done faster, minimize the risk of injuries and damages, and ensure a satisfactory result.
Squeaky clean windows are awesome, but risking damage to your home, or worse, your life, may not be a very smart decision. If you don’t have the tools and equipment, it might even be cheaper to hire a professional than to do a last-minute hardware haul. If you’re in the Mid-Atlantic part of the United States, reach out for a free quote and be on your way to much brighter days at home.